Shrink plastic is a fun way to use your own creations to make keychains and pins, for example. When working with shrink plastic, also known as shrinky dink, it’s good to know the shrinkage factor. A handy tool for this is a ruler made of shrink plastic.
What do you need?
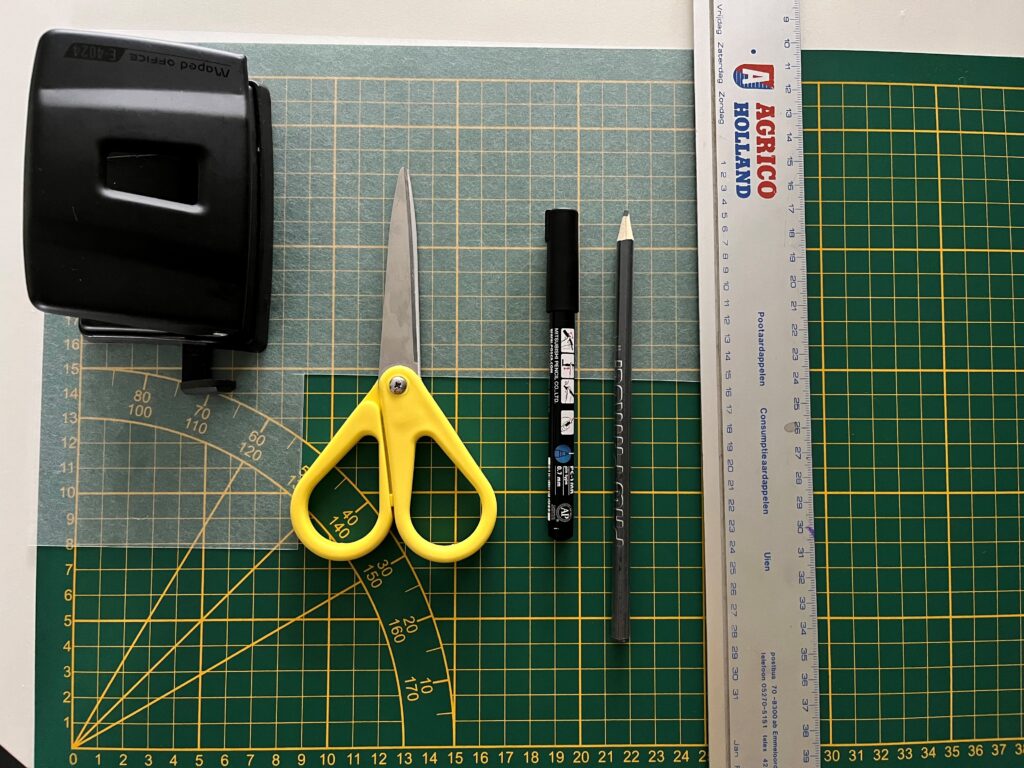
First of all, you need the shrink film that you’ll also use for making your own creations. Additionally, you need a ruler or a work mat with cm markings, scissors, a permanent marker or paint marker, and a hole punch.
Getting started
First, draw a ruler on the shrink plastic. I chose to make it 15cm long, as I think all my creations can be measured with that. Make a mark for every cm and connect these with a long line. Also add the numbers, so the ruler will be easy to read later.
Cut out the ruler and punch a hole in the middle on one side. This way, you can also turn your ruler into a keychain, and you can immediately see how big the hole becomes after shrinking.
After this, shrink the ruler by using the oven or a heat gun. Flatten the ruler and you’re done. You can now use the shrunken ruler to measure how big your design should be before shrinking to determine the size after shrinking.

Good luck with trying it out, and as always, feel free to leave a message below if you have any questions or if you want to respond.